

You have chosen your carpet tiles. Now what? Where should you start, which way should the tiles face, and how do you finish the edges?
Before applying adhesive, choose the layout, mark your guide lines and try a few tiles in place. A clear plan makes it easier to keep the finished floor aligned. These eight steps explain the process for offices, shops and other commercial spaces.
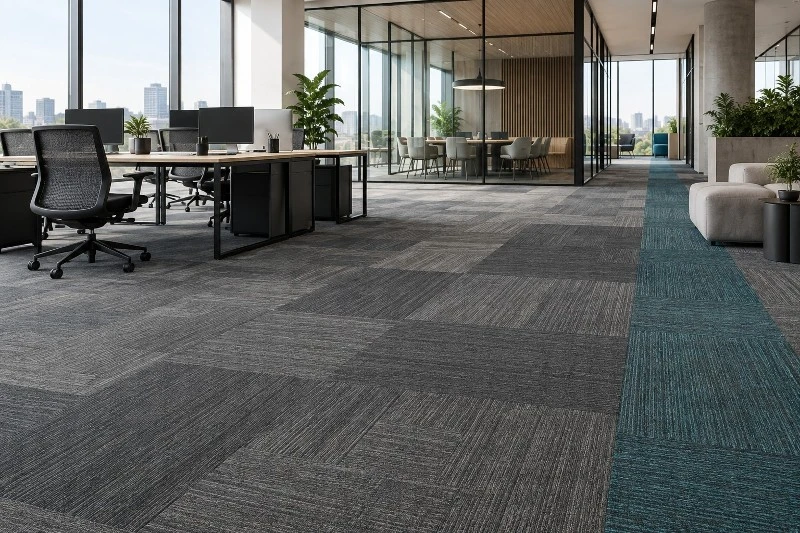
Carpet Tile Installation Guide
A practical guide to carpet tile layouts, adhesives, tools, drying times and final checks.
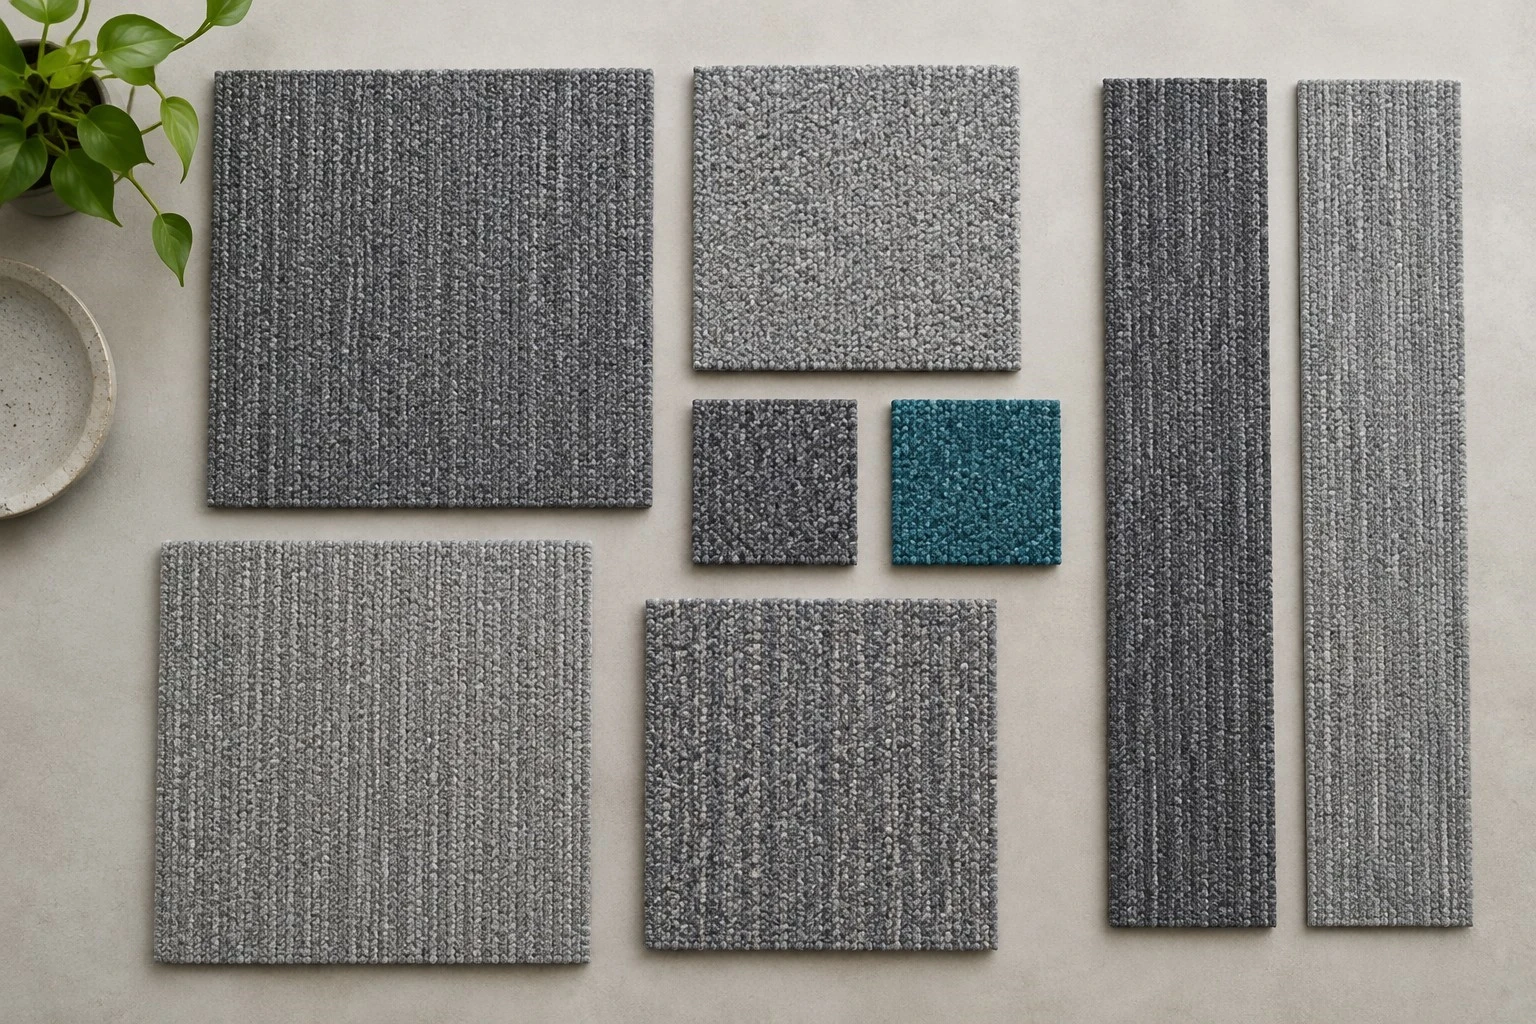
STEP 01 Choose the look you want
Carpet tiles come in different sizes and shapes, including 50 × 50 cm and 100 × 100 cm squares, and 25 × 100 cm planks. Sizes vary by collection. Want a uniform look? Consider one-way installation. Prefer more texture? Explore quarter-turn or staggered layouts
|
Layout |
The effect |
|
Monolithic |
All tiles face the same way for a consistent look. |
|
Quarter turn |
Planned 90 degree turns create texture contrasts. |
|
Brick or Ashlar |
Joints are staggered. Follow the product specified offset. |
|
Non directional |
Approved products can be laid without a uniform direction. |
|
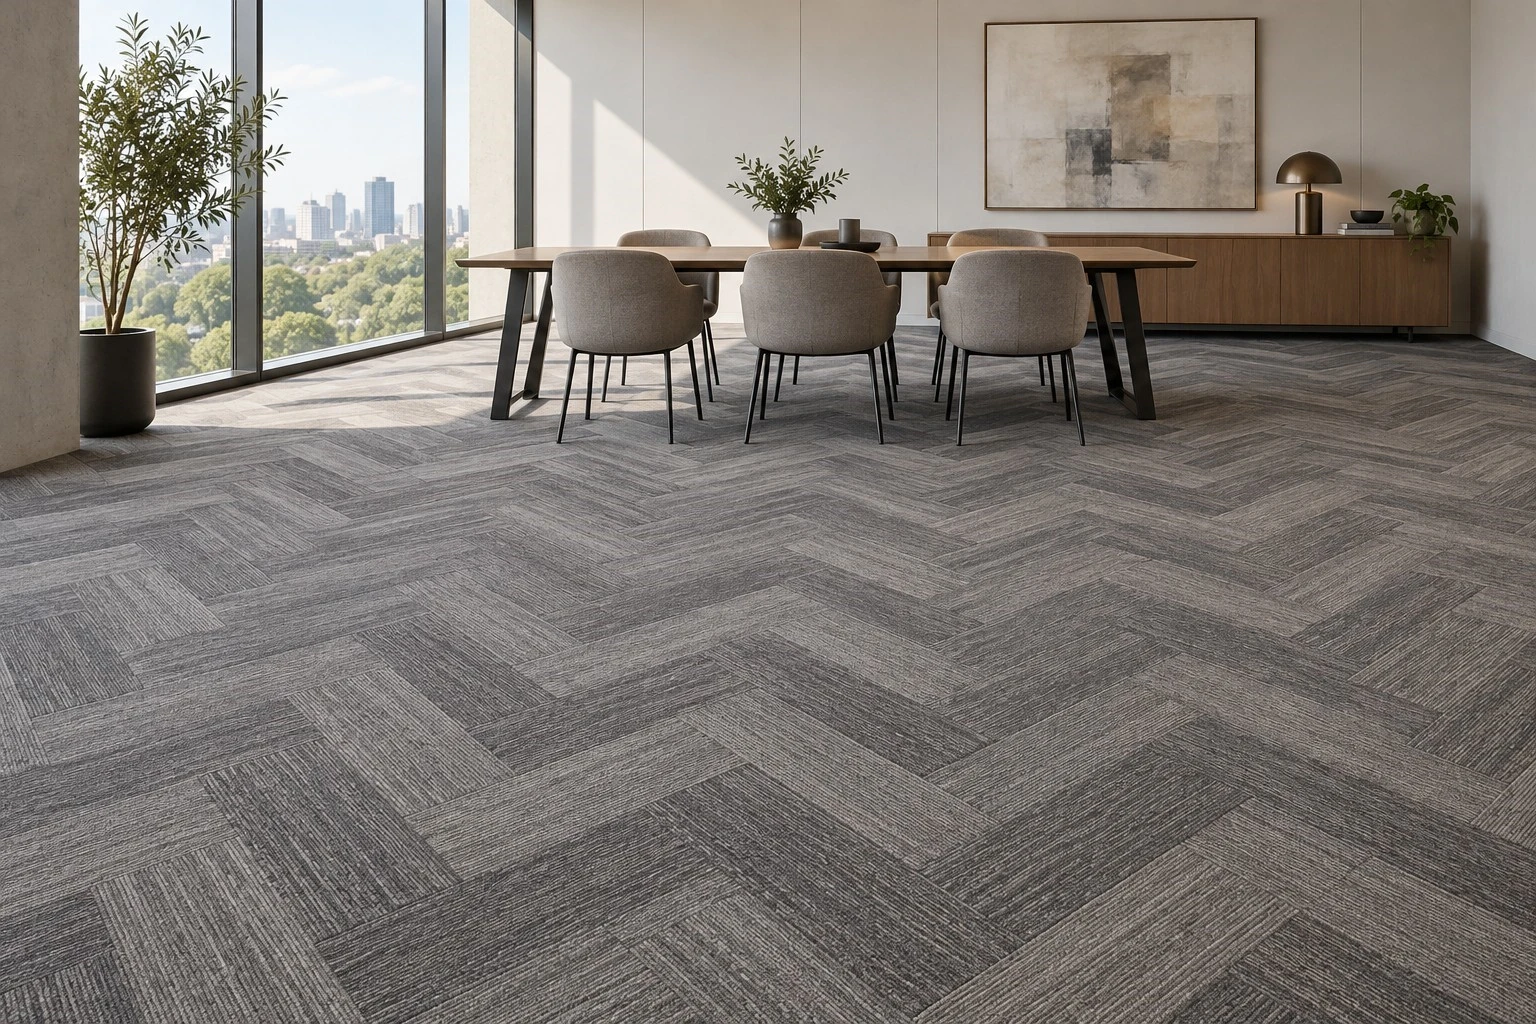
Herringbone |
Suitable planks form a repeating interlocking pattern. |
You can use colour or direction to define zones within one room. Check that the product allows the layout and try a small area first. Mixed formats also need compatible dimensions, thickness and installation methods.
STEP 02 Check the tiles before you begin
Check the style, colour, quantity, batch and condition. If different areas use different colours, separate the tiles and keep the carton labels. For a custom design assembled from numbered tiles, check those numbers too. Standard carpet tiles
may not have individual numbers.
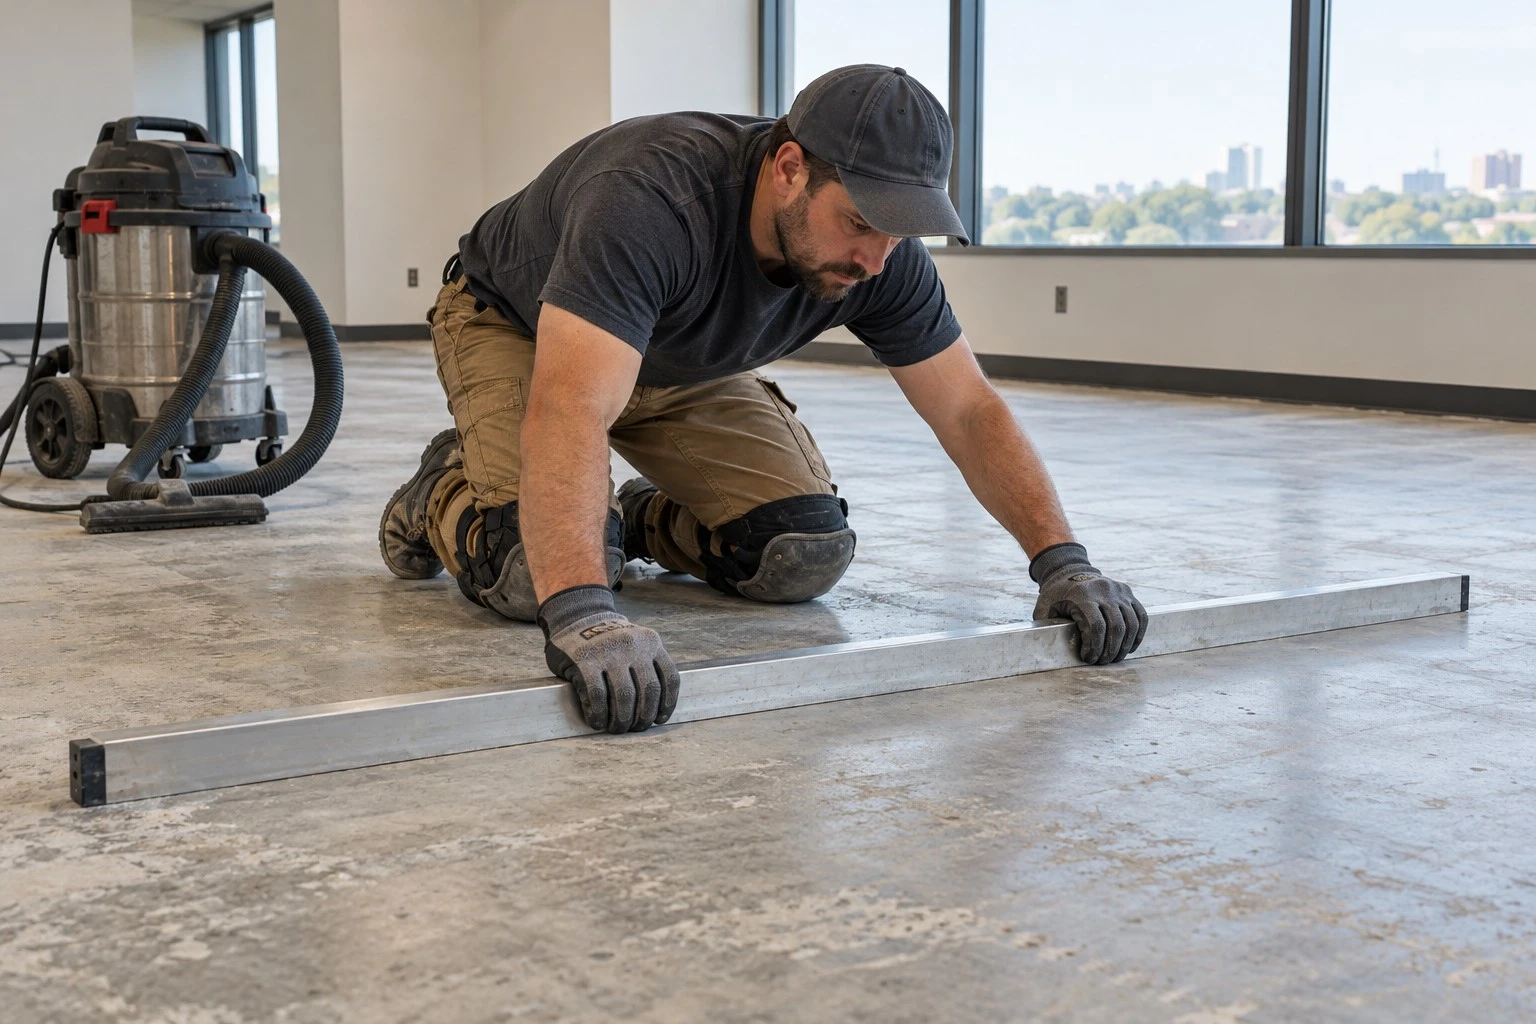
STEP 03 Prepare a clean, level floor
Dust, grease and loose adhesive residue can affect how well tiles stay in place. Fix uneven areas first. A floor that looks dry may still need checking, so ask the installer to follow the product's moisture requirements. Let tiles and adhesive adjust to the room conditions for the time specified.
STEP 04 Mark guide lines and try the layout
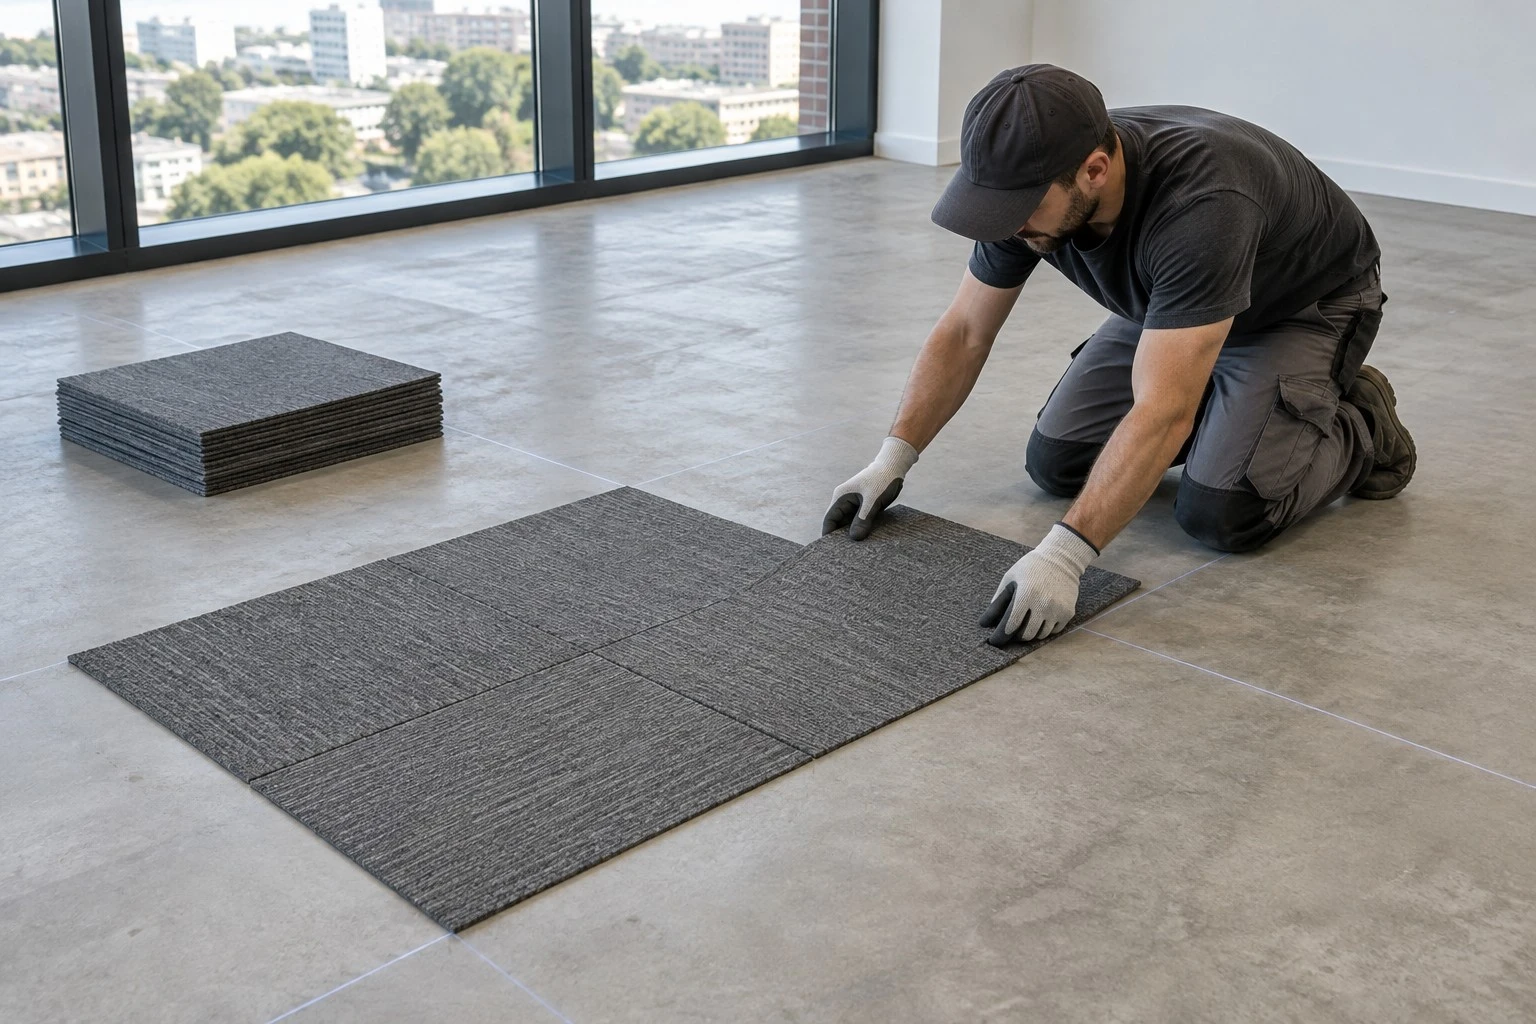
Measure the space and mark two guide lines at right angles. Think of them as rulers for the installation. Dry-lay a few tiles: check doorway cuts, wall edges and pattern placement. A standard grid often starts near the centre, at the guide-line intersection. Starting against a wall can carry the wall's irregularities into the floor.
STEP 05 Contact adhesive or water-based tackifier?
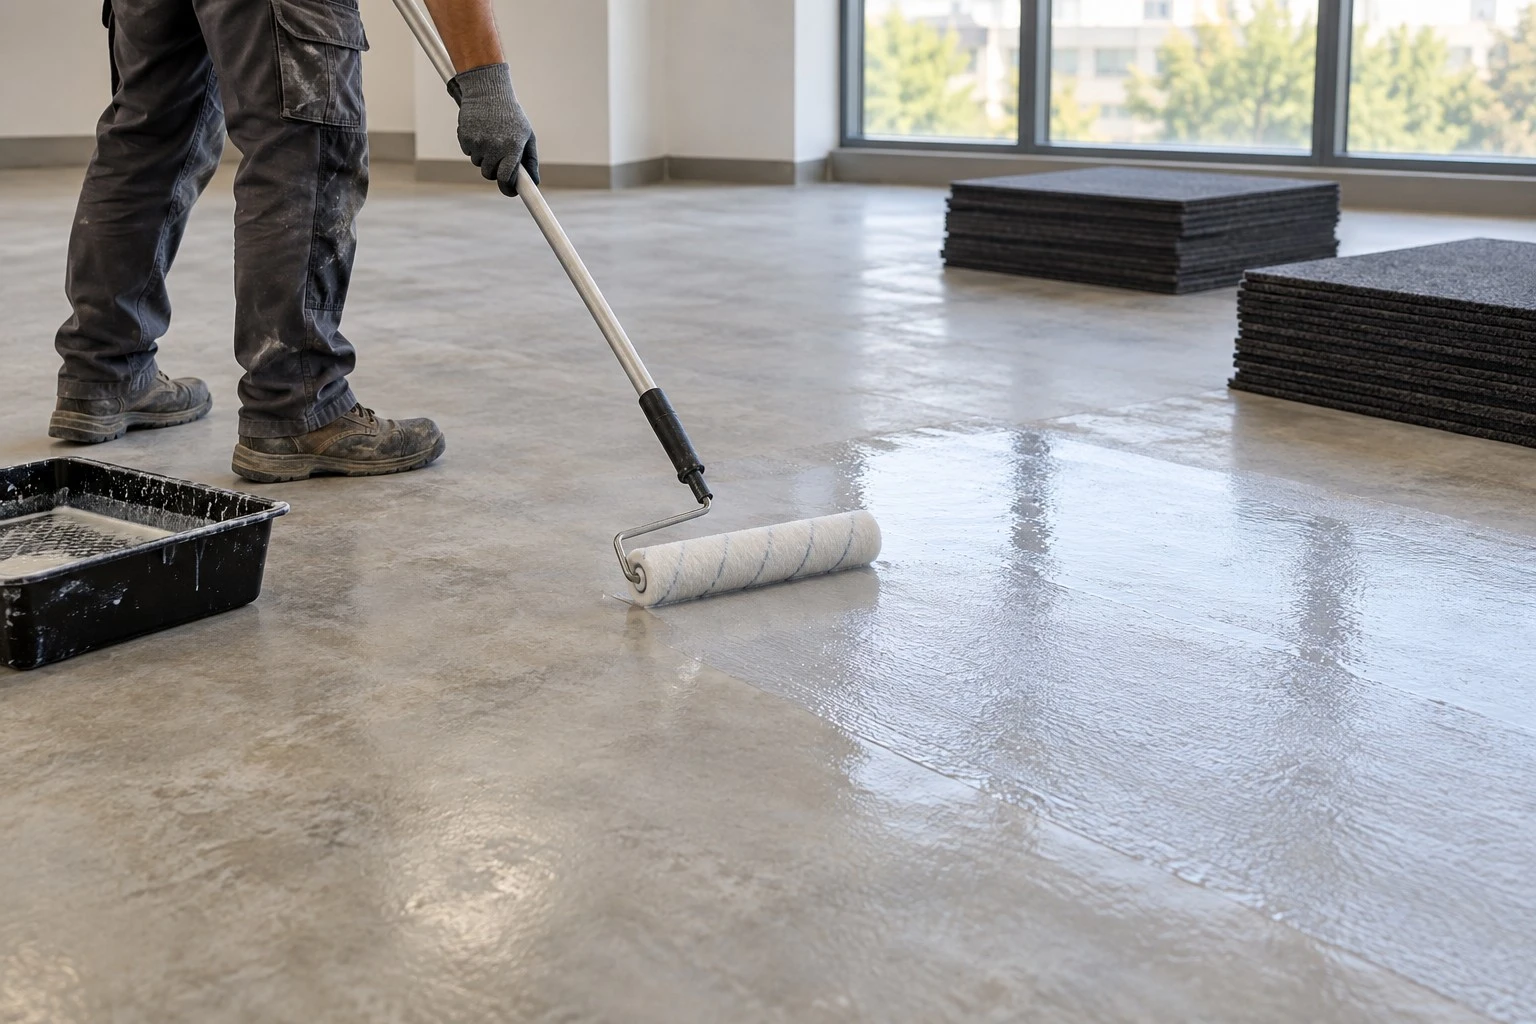
For standard commercial carpet tiles, our first option is a manufacturer-approved water-based tackifier. Not every water-based glue will do. A compatible tackifier stays sticky after drying, holds tiles in place and allows individual tiles to be lifted for replacement. Examples include Bostik FIX A760 TECH and F. Ball STYCCOBOND F41; check local instructions and backing compatibility.
|
Adhesive |
Why use it |
|
Water based tackifier |
Easier individual tile replacement. Solvent free, low emission options are available. A first option for compatible removable carpet tiles. |
|
Contact adhesive |
Strong immediate bond. Harder to reposition or remove. Use only where approved. |
Common solvent-based contact adhesives require ventilation and ignition control. "Water-based" and "contact" are not mutually exclusive categories, so buy by product specification and intended use, not the name alone.
STEP 06 Lay the tiles and check as you go
Follow the agreed installation plan and check every few tiles. Keep joints aligned, follow the planned directions, and avoid trapping fibres between edges. Do not force tiles tightly together. With a quarter-turn layout, different directions are intentional; what matters is following the plan.


STEP 07 Measure and trim the edges
Once the main area is in place, measure the perimeter pieces. Use a straightedge and sharp blade on a safe cutting surface, following the product's cutting method, usually from the back. Test-fit before fixing. Finish doorways and transitions so exposed carpet edges are protected.
STEP 08 Check the finished floor
After installation, use the specified flooring roller to seat the tiles. Roll evenly in one direction, then perpendicular to it, covering joints and edges. This is a flooring roller, not a paint roller.
Some carpet tile systems specify a 75–100 lb (about 34–45 kg) roller. This is an example, not a weight for every adhesive. Follow the selected system's weight and rolling schedule. Rolling does not cancel the required waiting period.
Inspect for lifted edges, peaking, gaps and incorrect directions, then vacuum. Keep spares labelled by colour or area.

Practical Tips for Carpet Tile Installation
Tip 1 How should you apply the adhesive
Water-based carpet tile tackifier: a common method is a thin, even roller coat across the whole installation area. Avoid puddles and missed patches. Use the specified applicator and coverage; special floor/backing combinations may need a different method.
Contact adhesive: spot application is not a general rule. STYCCOBOND F60, for example, requires thin, even coats on both surfaces, allowed to become touch-dry before joining. Use spots or bands only where the specific adhesive and tile instructions approve their placement and coverage.
For a dry-film tackifier, check the required film condition: tacky, with no wet transfer to the finger. Follow the product instructions; do not rush installation into wet adhesive.
Tip 2 Does drying differ on concrete and ceramic tiles
|
Floor |
Prepare first |
|
Concrete |
Check moisture, dusting and unevenness. Prime where specified. |
|
Ceramic tiles |
Check stability, remove contaminants and address joints or lippage as specified. |
Concrete may absorb moisture, while glazed ceramic tiles usually do not, so the same water-based adhesive can dry more slowly on tiles. Sealed concrete may also be non-absorbent. Judge the actual surface and confirm that the adhesive permits installation over prepared ceramic tiles.
Timing example: Bostik FIX A760 TECH, UK technical sheet dated December 2025. These are product-specific examples, not universal times.
|
Surface |
Wait before laying |
|
Absorbent surface |
About 45 to 60 minutes. |
|
Non absorbent surface |
About 1 to 2 hours. |
Cold conditions, high humidity and excessive application can extend drying. Some regional A760 instructions list about 2–2.5 hours for non-absorbent surfaces. Use the local data sheet for the product you actually buy.
Contact adhesive example: F60 specifies about 20 minutes to touch-dry, then joining within the next 30 minutes. This is its bonding window, not a rule for other contact adhesives or unapproved carpet tiles.
Tip 3 What if a logo needs to sit in the middle
Position the logo first, then decide the installation sequence. A centred logo does not automatically mean a centre-first installation.
One option is to install the feature first and work outward. Another is to dry-check and mark it, then follow numbered rows from an agreed starting point, such as left to right and top to bottom. Ask the supplier and installer to confirm the method for the design and space.
Standard textured or colour-block tiles do not need these logo-assembly steps.
Tip 4 What does a carpet edge tool do

A carpet bolster or edge tucking tool has a smooth, wide blade for finishing carpet edges near compatible trims. Use it only where the edge detail calls for it. Flat-laid carpet tiles do not automatically need every edge tucked into a gap.
Measure, trim and test-fit first. Gently press the edge with the smooth blade where needed. Do not fold a rigid backing or hammer or stretch tiles into place. If the edge will not sit flat, check the cut size and trim detail.
Tip 5 When can people walk on the floor or move equipment
Foot traffic and heavy wheeled traffic are different. Check the adhesive instructions and have the installer confirm the floor is ready.
|
Use |
What to check |
|
Light foot traffic |
Some dry film tackifiers allow immediate walk on, such as UK A760. |
|
Overnight restriction |
Some regional A760 sheets require at least 12 hours before traffic. Follow the local version. |
|
Wheeled loads and furniture |
Follow the applicable heavy load restriction. Immediate walk on does not automatically permit heavy equipment. |
If heavy-traffic timing is missing, ask the adhesive supplier rather than imposing a universal 12- or 24-hour rule. Do not drag furniture; use suitable protective boards to prevent displacement.
Tip 6 Tools to prepare before installation
|
Tool |
Purpose |
|
Vacuum and broom |
Clean the floor. |
|
Tape measure and chalk line or laser |
Measure and mark guide lines. |
|
Adhesive roller and tray |
Apply adhesive as specified. Use a brush or spreader only where instructed. |
|
Straightedge, knife and cutting board |
Measure and cut safely. |
|
Edge tucking tool |
Finish edges where the detail requires it. |
|
Flooring roller |
Seat tiles using the specified weight and method. |
|
Gloves and knee pads |
Protect hands and knees. |
Ask a local flooring contractor about hiring a roller rather than buying one. Clean adhesive tools as instructed after use.
Carpet tile installation FAQs
Q: Do you have to start in the middle
A: Many standard layouts start near the centre along guide lines. Custom designs or unusual spaces may need a different approved sequence.
Q: Must all tiles face the same way
A: No. One-way, quarter-turn and non-directional are different layouts. Use a method approved for the product.
Q: Do carpet tiles need extra underlay
A: Do not add underlay without checking. Many tiles go directly onto the prepared floor; follow the manufacturer's instructions.
Q: Does a lighter or darker appearance mean a colour defect
A: Not always. Texture direction and lighting affect appearance. Check the layout and ask the supplier about unexpected differences.
Plan the look before choosing your tiles
Would you prefer a simple, uniform floor or a more expressive colour-block layout? Share your dimensions, floor plan and preferred look with Dongsheng to discuss carpet tiles for your project.
This guide explains the process in plain language. Follow the selected carpet and adhesive instructions for installation. Images are AI-generated illustrations, not photographs of completed projects.


